How to Fix a Leaky Faucet?
Welcome to 24/7 Local Plumbers, your trusted source for expert plumbing advice and services! Dealing with a leaky faucet can be a frustrating and wasteful problem, but fear not - we're here to help. In this comprehensive guide, we'll walk you through the step-by-step process of fixing a leaky faucet like a pro. With our expert tips and insights, you'll be able to resolve the issue quickly and efficiently, saving both water and money in the process.
Identifying the Problem:
Before embarking on the repair journey, it's crucial to diagnose the underlying issue causing the faucet to leak. Understanding the root cause of the leak is paramount in effectively addressing the problem and ensuring a lasting solution. Leaky faucets commonly stem from worn-out or damaged components within the faucet mechanism, with several potential culprits to consider.
Worn-Out Washers:
Over time, the rubber washers located inside the faucet handle can degrade and lose their ability to create a watertight seal. This deterioration often leads to leaks around the handle or spout of the faucet, resulting in wasted water and potential water damage.
Damaged O-Rings:
O-rings serve as essential sealing components within the faucet assembly, preventing water from escaping through gaps or crevices. However, frequent use and exposure to water and minerals can cause O-rings to degrade or become damaged, compromising their effectiveness and allowing leaks to occur.
Deteriorated Seals:
Seals play a crucial role in maintaining the integrity of various faucet components, such as the valve stem or cartridge. Over time, these seals may deteriorate due to age, exposure to harsh chemicals, or mineral buildup, resulting in leaks around the base of the faucet or handles.
Faulty Cartridges:
In faucets with cartridge-based mechanisms, a malfunctioning or worn-out cartridge can be a common source of leaks. Cartridges regulate the flow of water within the faucet and can develop cracks or wear over time, leading to leaks and diminished performance.
Identifying the specific cause of the leak requires careful inspection and observation of the faucet's behavior. Common signs of a leaky faucet include dripping water, puddles around the base of the fixture, or difficulty in turning the handle due to water seepage. By closely examining the faucet and its components, homeowners can pinpoint the source of the leak and determine the most appropriate course of action for repair.
Once the root cause of the leak has been identified, homeowners can proceed with confidence in addressing the issue and restoring the functionality of their faucet. Whether it involves replacing worn-out washers, O-rings, seals, or cartridges, understanding the underlying problem is the first step toward achieving a successful repair outcome. With a clear understanding of the problem at hand, homeowners can effectively guide their repair efforts and ensure a lasting solution to their leaky faucet woes.
Tools You'll Need:
To fix a leaky faucet, you'll need a few basic tools and materials:
- Adjustable wrench
- Phillips screwdriver
- Flathead screwdriver
- Replacement parts (washers, O-rings, seals, cartridges)
- Plumber's tape
- Clean cloth or rag
- Bucket or container (to catch any water)
Step-by-Step Guide on How to Fix a Leaky Faucet
Turn Off the Water Supply:
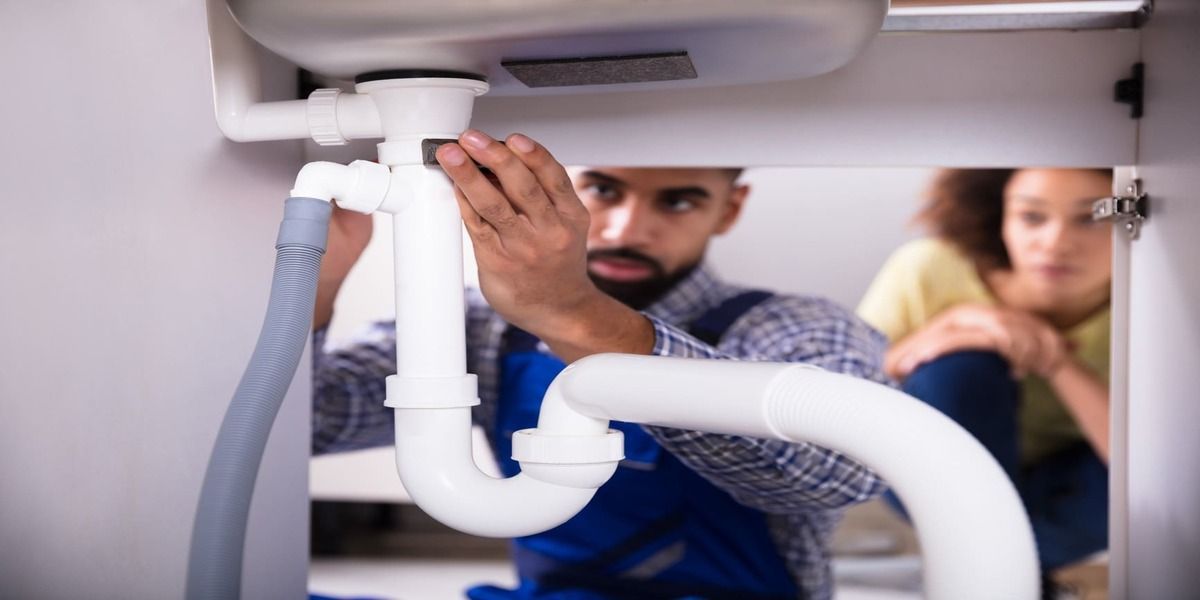
Before embarking on any repair work, it's crucial to halt the water flow by shutting off the water supply to the faucet. Locate the shut-off valve positioned beneath the sink and turn it clockwise to stop the water flow. To eliminate any residual water within the lines, open the faucet and allow it to drain completely.
Disassemble the Faucet:
Armed with a Phillips screwdriver, begin the disassembly process by removing the faucet handle. Depending on the faucet type, you may need to detach a decorative cap or cover to access the screw. Once the handle is detached, utilize an adjustable wrench to loosen and remove the bonnet nut or retaining nut, granting access to the faucet's internal components.
Replace Worn-Out Components:
With the faucet disassembled, meticulously inspect the internal components for signs of wear, corrosion, or damage. Common problematic areas include worn-out washers, deteriorated O-rings, compromised seals, or faulty cartridges. Should any of these components exhibit signs of wear or damage, promptly replace them with suitable replacements, ensuring compatibility with your specific faucet model.
Apply Plumber's Tape:
Before proceeding with reassembly, enhance the seal integrity by applying the plumber's tape to the threads of any connections. Begin wrapping the tape around the threads in a clockwise direction, ensuring complete coverage and overlapping of the tape to create a robust, watertight seal.
Reassemble the Faucet:
Carefully reassemble the faucet, meticulously following the reverse order of the disassembly process. Insert the newly replaced components, such as washers, O-rings, or cartridges, and tighten the bonnet nut or retaining nut securely using an adjustable wrench. Once the internal components are securely in place, reattach the faucet handle and any decorative caps or covers.
Turn On the Water Supply:
With the faucet reassembled, it's time to restore the water supply. Turn the shut-off valve beneath the sink counterclockwise to reignite the flow of water. Gradually turn on the faucet, allowing water to flow freely, and closely monitor for any signs of leaks or drips.
Test the Faucet:
Complete the repair process by subjecting the faucet to a comprehensive functionality test. Run both hot and cold water through the faucet, meticulously examining for any leaks or drips around the base or handles. If the faucet operates smoothly without any signs of leakage, congratulations - you've successfully resolved the issue of your leaky faucet!
By diligently following these step-by-step instructions and leveraging your newfound plumbing expertise, you can effectively address and rectify the issue of a leaky faucet, restoring functionality and efficiency to your plumbing fixtures. Should you encounter any challenges during the repair process or require professional assistance, don't hesitate to reach out to the experts at 24/7 Local Plumbers for prompt and reliable support.
By following these expert tips and steps, you can effectively fix a leaky faucet and prevent further water waste and damage. However, if you encounter any difficulties during the repair process or if the leak persists, don't hesitate to contact the professionals at 24/7 Local Plumbers for prompt and reliable assistance. We're here to help you with all your plumbing needs, ensuring that your home remains leak-free and efficient. Say goodbye to leaky faucets and hello to peace of mind with 24/7 Local Plumbers!
You might also like
Book a Service Today
We will get back to you as soon as possible
Please try again later
Disclaimer: 24/7 Local Plumbing connects users with independent plumbers but does not guarantee service availability, verify licenses, or ensure insurance coverage. For full details, check out 24/7 Local Plumbing disclaimer.
Blog | Contact | Home | Privacy policy | Sitemap

All Rights Reserved | 24/7 Local Plumbers
Support and manage by lead vanguard
Committed to Accessibility: We strive for inclusivity and accessibility for all. Learn more about our accessibility efforts and resources.


